Personalized Attention +44 151 947 0713
 SHIPPING TO ALL
 9/10 Rating
 SALE TO MINORS PROHIBITED
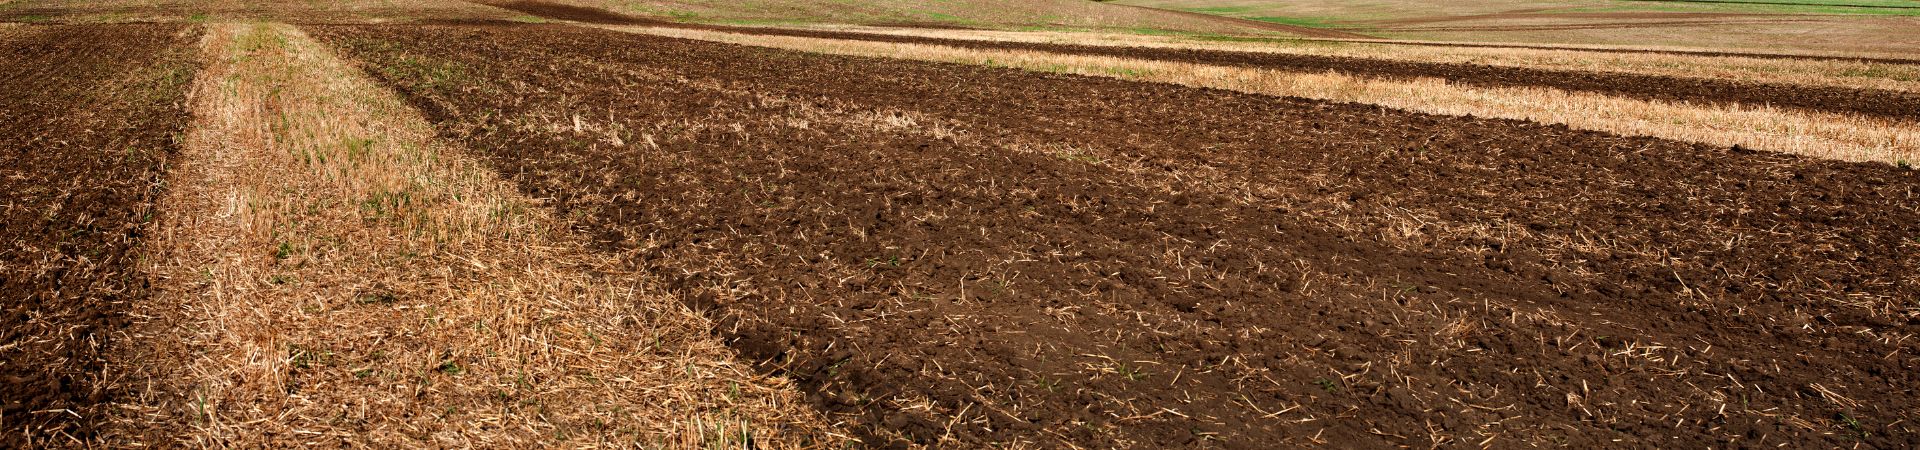
Soil preparation for growing cannabis outdoors with the arrival of spring is one of the most important tasks to undertake if you want to achieve a healthy, strong, and vigorous crop, as well as productive, potent, and aromatic. Furthermore, choosing the right outdoor marijuana seeds for each crop is crucial. Therefore, to learn how to perform this cultivation technique, which has been used in horticulture for centuries, we will explain the benefits it provides and the steps you need to follow to carry it out.
Benefits of preparing the soil for outdoor cultivation
- Better soil texture and air/water relationship.
- Provides a large amount of nutrients.
- Increases and improves root development.
- Facilitates root penetration.
- Improves nutrient uptake and their distribution.
- Promotes the development of bacteria and microorganisms at the root level.
- Prevents the appearance of harmful fungi.
- Healthier and stronger plants.
- Organic and medicinal harvests.
- Higher psychoactive and aromatic potential.
- Increases productivity.
- Significant savings due to reduced fertilizer use.
- Reduction in the use of preventive and combative products.
- Regulates soil pH level.
- Improves soil quality year after year.
How to achieve soil preparation for growing cannabis
Soil is a living element and is the basis on which one of the most important parts of plants, the root, develops. Therefore, it is necessary to ensure that the soil has ideal physical and chemical characteristics in order to obtain the best possible results in all stages of marijuana plant development; germination, growth, pre-flowering, fattening, and ripening.
To achieve soil rich in nutrients, microorganisms, porous, and with a good air/water ratio, it is necessary to choose a good cultivation area, as well as carry out a preliminary study of its characteristics (pH level and texture) for the correct addition of different types of components of organic, organo-mineral, and/or vegetable origin, depending on these.
This type of study is very interesting to carry out since, generally, soils that are accessible to us do not have the ideal characteristics for cultivation, such as a pH between 6 and 7, and a texture that allows penetration and absorption of water, while maintaining minimum oxygen levels.
Selection of the cultivation area
The first thing to do is to choose the area where to cultivate to start preparing the soil. In this regard, the area must meet some minimum requirements, which we will specify below:
- Area illuminated with a minimum of 4 to 6 hours of direct sunlight.
- Flat or as flat as possible soil.
- Soil with plants, whether weeds or legumes (indicative of more or less fertile soil).
- Discreet area or possibility to camouflage with meshes, reed screens, etc.
- Easy access to a water supply.
- Soil with a minimum depth of 30-50 cm (if the soil does not have that depth, a raised bed must be made).
- Vegetation free of fungi or pests.
Grow in raised beds or individually?
Once the cultivation area has been chosen, it is necessary to choose between the option of growing in a deep or raised bed, or doing it directly in the soil by digging a hole. Keep in mind that each of these methods requires a different approach, and this way we will know exactly the cultivation area that needs to be cleaned.
Raised bed
To grow in a raised bed, it is necessary to assemble a rectangular structure of 1 to 1.50 m in width, with a height of 30 to 50 cm, for the desired length, to support the soil or growing medium. On the other hand, a large amount of substrate and/or quality soil must be added since this structure is like a large pot.

Boom Nutrients Light Mix

Boom Nutrients All Mix

All Mix GB Nutrients
Deep bed
To create a deep bed for cultivation, you have to delimit a rectangular area, just as if you were going to create a raised bed. However, the deep bed does not need a structure because the untreated soil around it acts as a wall. For this, it is necessary to have an area of soil with a depth of about 30 or 50 cm, and in this case, the addition of substrate and/or quality soil is not necessary, as long as the soil itself is of good quality.
Individual hole cultivation
In individual direct soil cultivation, you only need to prepare a small area of 1 to 2 square meters for cultivation and dig a hole in the center with the depth and width required. Then, you have to refill the extracted soil, provided it is of good quality; otherwise, you replace it with substrate and/or quality soil. The hole can be made circular or square, according to preferences.
How to clean the land
Before making a bed, the land must be cleaned, which is very simple, consisting of the removal of all weeds it may contain. To do it as comfortably and correctly as possible, follow these recommendations:
- Remove weeds by hand after several days of rain, this way they are uprooted avoiding their return, and the soil is aerated.
- It is not recommended to use herbicides for this task since, in addition to contaminating the environment, soil life is harmed.
Soil aeration
This is the last and most important process we must carry out to finish preparing the soil for cannabis cultivation. For this, several types of tools can be used, although in this case, we will use a garden spade. What is vital to achieve optimal aeration is to carry out this task 3 to 4 days after heavy rain, or alternatively, after watering the cultivation area, also abundantly and several days before. This action is called “tempering” and with it, the soil achieves an ideal texture to be worked comfortably, without forming large clods of compacted soil.
Note: To know if the soil texture is correct or not for aeration, just take a small portion of soil with your fingers and crumble it without it sticking or turning into powder. If this happens, it is preferable to wait a day or two.
Steps for soil preparation for growing cannabis outdoor
Among other steps for soil preparation for growing cannabis outdoor, the following can be distinguished:
Provide the necessary components
Once we have chosen and cleaned the cultivation area, assembled the structure in the case of a raised bed, or prepared the area in the case of cultivating as a deep bed or from a hole in the soil, we must apply a generous layer in proportion, of one or several of the following components of organic and/or vegetable origin:
- Mature sheep or horse manure
- Well-worked compost
Aerate the soil
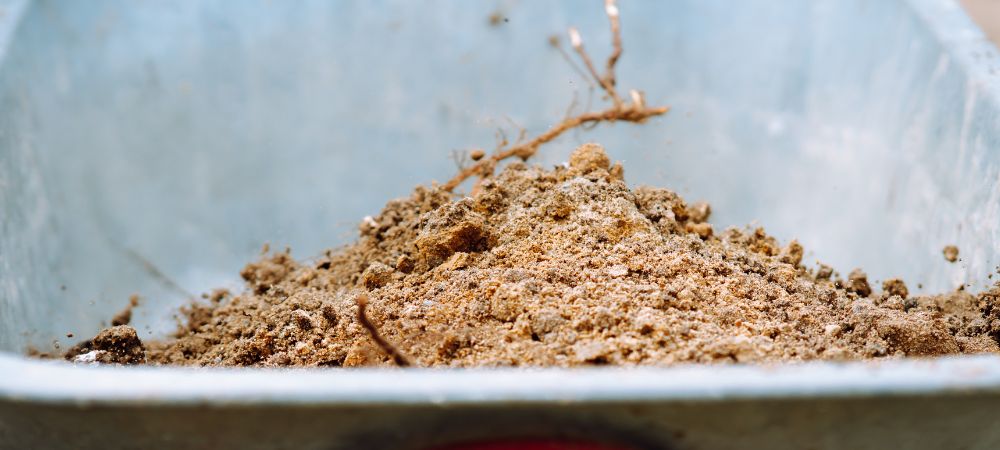
Once we have spread the manure or any of the components mentioned in the list over the surface, it is time to begin aerating the soil. First, remove a small portion of soil in a wheelbarrow to have space to work the soil.
Move the soil from the bed to the hole
Next, you need to dig the shovel about 30 to 40 centimeters deep, and start moving all the soil from the bed or the hole towards the cleared soil cavity, while at the same time breaking up the soil clumps with a couple of hits and removing the larger stones.
Note: in the case of preparing a hole, we have to dig as deep as we deem necessary; the deeper and wider it is, the more space the roots will have to grow.
Once we have moved all the soil forward, we add the portion of soil that we removed at the beginning to better work the area.
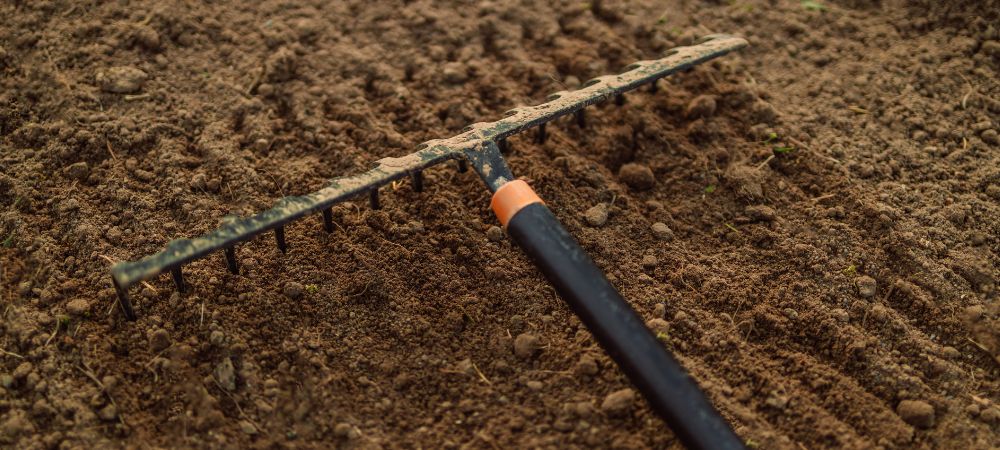
Level the soil
Once the area has been aerated, it’s time to level the soil with the help of a rake and finish breaking up the compacted soil clumps. If you don’t have a rake, you can do it with a hoe or even with your own hands and a little patience.
Prepare the soil for outdoor cultivation from one year to the next
With the preparation of the soil from one year to the next, the availability of nutrients is significantly increased so that they can be absorbed by the roots, as well as the number of beneficial bacteria and microorganisms. On the other hand, the soil pH is regulated to a greater extent and its physical/chemical characteristics are improved, providing an environment for the root system of cannabis plants, much better than soil prepared in spring.
Those who do not have a raised bed or a direct soil cultivation area should get to work and perform the tasks we discussed earlier, but in mid-winter. Those who already have a cultivation area or raised bed only need to follow the steps we are about to explain for the same dates:
- Wait for rain or water the soil abundantly and let it dry for 3 to 4 days to acquire a good texture to be worked on. It should not be too compact or too dry.
- Remove the weeds by hand or with the help of a small hoe.
- Spread a layer covering the entire surface of the bed or the soil cultivation area with composted horse and/or sheep manure, along with worm humus and guano. This is just an example, as you can also add seaweed, well-worked compost, and a wide range of plant-based products. This gives us plenty of room to make different combinations.
- Mix the manure layer and other fertilizers; to do this, you must first remove a portion of soil from the bed or hole itself, intending to be able to move the soil forward without mixing too much. When you reach the end, add the first part of the removed soil.
- Level the surface carefully, break up the compacted pieces, and do not touch the prepared area until the beginning of marijuana cultivation in spring.