Personalized Attention +44 151 947 0713
 SHIPPING TO ALL

 9/10 Rating
 SALE TO MINORS PROHIBITED
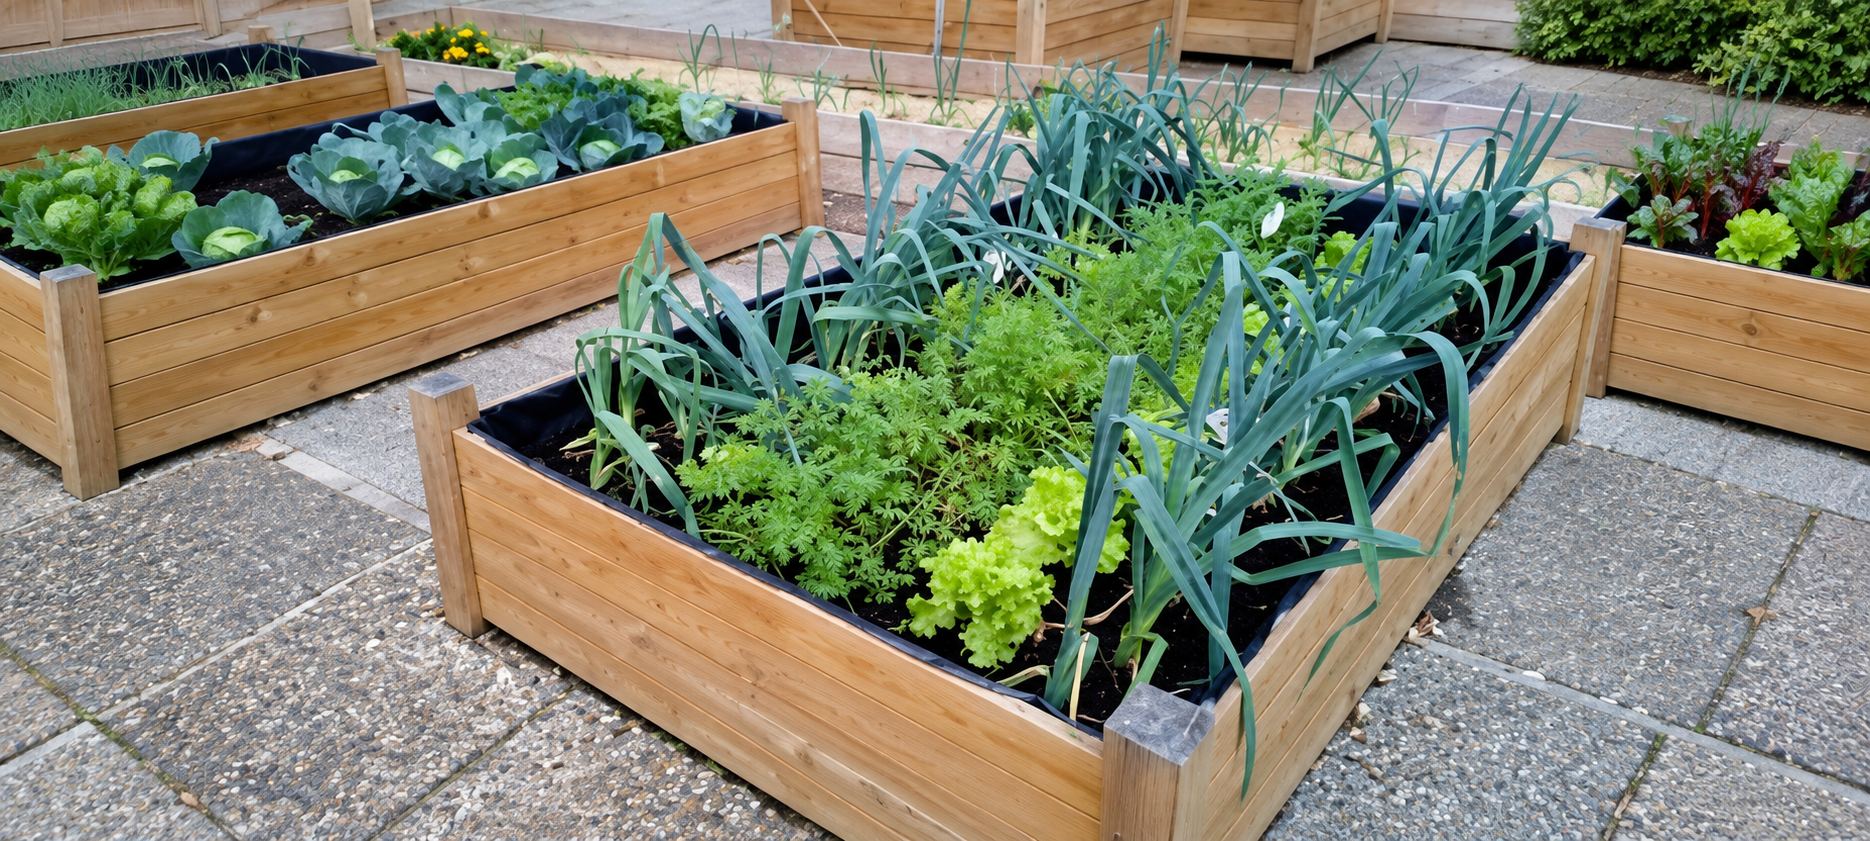
Today in how to make an urban garden and its advantages, we show you the different options you have at your fingertips, so you can grow your own vegetables and aromatic plants on your window, balcony, patio, terrace, or plot of land, simply and without the need for a large investment—the choice is yours!
This type of organic urban farming is characterized by being developed in an unusual environment, such as the open spaces offered by the buildings we live in, like small windows, balconies, terraces, or even light wells. The idea behind these types of urban gardens is to make the most of any corner that receives a viable amount of light to create green spaces.
Advantages of an urban garden
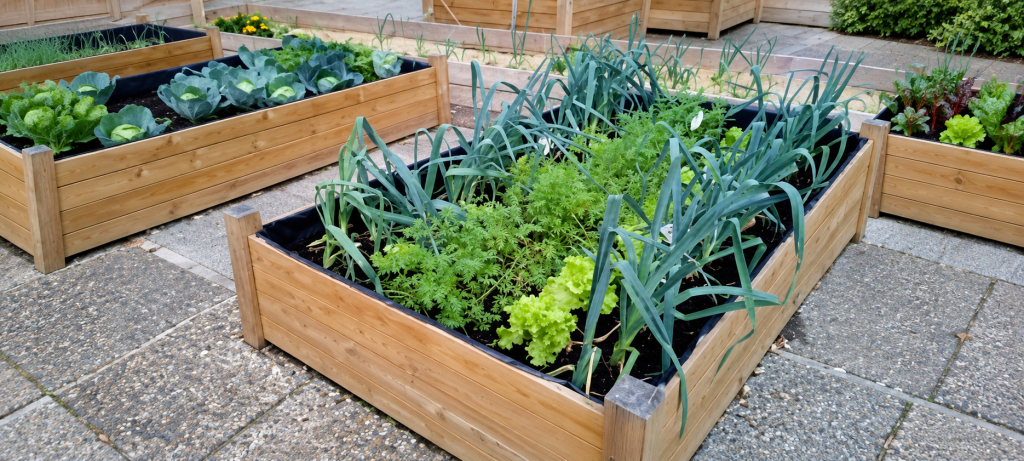
Creating our own urban garden brings with it a significant number of advantages, ranging from the most important, which is our health, to the more ephemeral, such as money. On the other hand, it costs practically no effort to maintain, and the satisfaction one feels when eating their own vegetables is priceless. These reasons make growing our own food at home something therapeutic, healthy, and ecological.
Advantages:
- We improve our diet
- We improve our health
- We develop organic farming
- We create a small ecosystem
- We entertain ourselves and learn
- We distract our minds with tasks that are beneficial to us
- We become more aware of nature
- We reuse and recycle different materials
- We achieve significant financial savings
How to make an urban garden?
Making our own urban garden is very simple; you just have to follow the instructions below and in a short time, you will be harvesting your own vegetables and aromatic flowers.
So that you can better plan your own home garden, we are going to indicate point by point the most important aspects you need to keep in mind.
Before you start, remember that the final investment depends on you, since on one hand, you can reuse the vast majority of materials needed, or if you prefer, you can buy everything, which is more comfortable but less fun. Although you know what they say: to each their own.
Where will I grow?
This choice is probably the most important, as to obtain good results, it is necessary for our future garden to receive at least 6 hours of direct sunlight. Space in this case is the least of it, as depending on our possibilities, it can be larger or smaller. Therefore, we just have to look for a well-lit and ventilated space and adapt to the possibilities offered by our balcony, terrace, or plot. Once we have this clear and have chosen our growing area, let’s move on to the next point.
What can I use as a container?
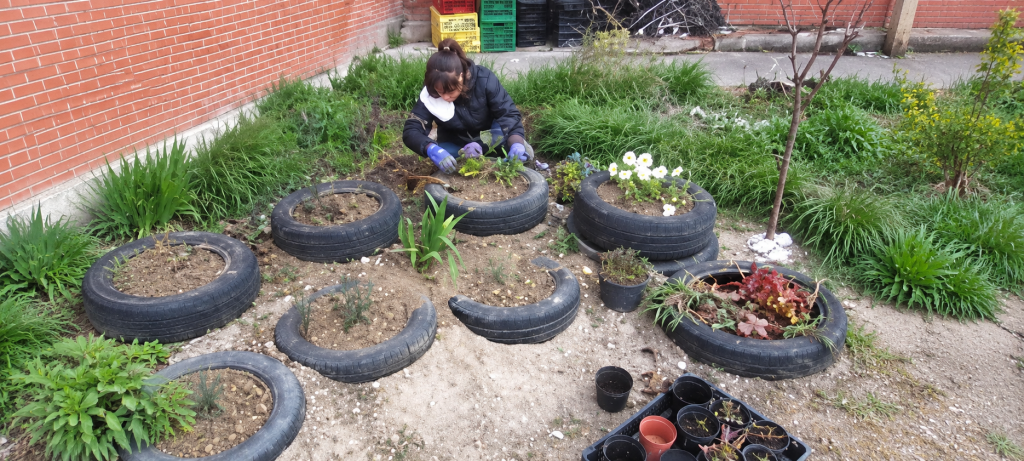
In this sense, we have several options: we can reuse different types of materials and use them as pots or containers, buy the pot we like best directly, provided it is ideal for the vegetable we are going to grow in it, or make the containers ourselves.
Reusable elements:
In this sense, we can use anything that can hold the substrate and that does not wear out easily due to inclement weather, such as rain and intense sun.
- Plastic vegetable crates
- Fish crates
- Orange crates
- Styrofoam coolers
- Cloth potato sacks
- Tires
- Wooden crates
- Old clothes (sweatshirts, sweaters, jeans)
Self-made:
To make our own pots, we only need a couple of wooden boards or slats, some nails or screws, a screwdriver, a hammer, and to let our imagination run wild—it’s that simple.
- Wooden pallets
- Broken wooden shelves
- Broken wooden crates
- Slats or boards cut to size
Buying the container:
In this sense, we have a wide variety of containers for cultivation. Always try to choose the one that best adapts to the needs of the plants you are going to grow in it.
- Pots
- Vertical systems
- Rectangular planters
- Growing tables
Important fact: Each vegetable variety grown has specific space needs for its root system, so you will have to adapt your choice to the type of vegetable you want to grow. If you don’t want to complicate this choice, the ideal is to work with pots or containers that are at least 20–25 cm deep. This way, we can grow a wide variety of plants.
How many plants or vegetables do I grow per tray?
This is a very important question, as we cannot just start growing every cutting that comes to mind without knowing the space each one needs for its proper development. To make this choice easier, we are going to show you what amount of substrate this small variety of vegetables needs, which we have selected for the occasion. This information can be provided at the same place where you buy the cuttings, although it never hurts to have the information.
Plants that need more than 15 L of substrate:
- Tomatoes
- Eggplants
- Beans
- Peppers
Plants that need less than 15 L of substrate:
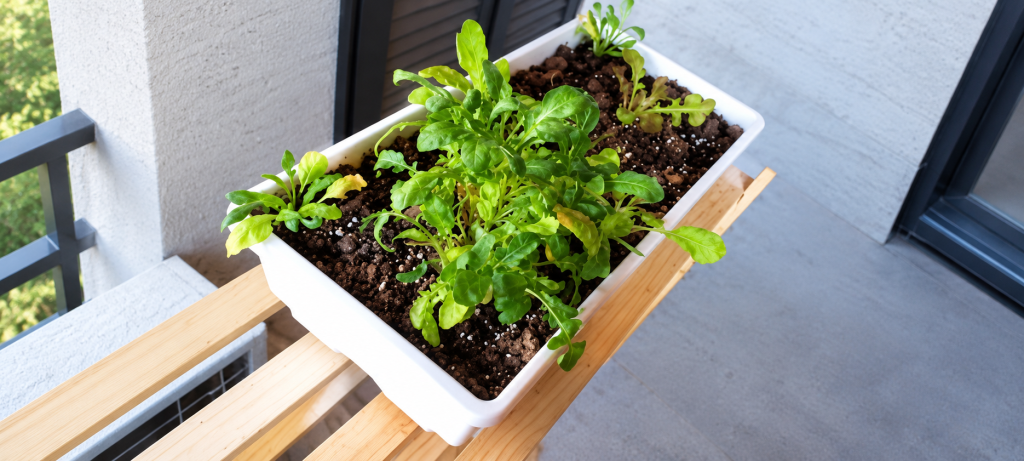
- Lettuce
- Spinach
- Arugula
Plants that need less than 5 L of substrate:
- Mint
- Strawberries
- Rosemary
- Thyme
Plants that need less than 1 L of substrate:
- Small radishes
- Beets
- Garlic
- Carrots
Note: These are guidelines, so good results can be obtained by growing these same vegetables in smaller containers.
The Substrate
The substrate is one of the fundamental parts for success in creating our own urban garden, just as sun and water are. Therefore, it must be of the best possible quality. To obtain a quality substrate, we can buy one directly with the ideal characteristics, or we can make it ourselves, which is more educational and fun.
To create a quality substrate, it must have a spongy texture that allows for proper oxygenation of the roots and just the right water retention; it must have a stable pH of around 6.5 and a certain amount of nutrients so that the plant can feed progressively.
Example of what a good substrate should contain:
- Worm castings
- Perlite
- Coconut fiber
- Peat mix
Note: Every so often, we will have to add food so that the substrate does not run out of nutrients; for this, we can use worm castings by applying them to the surface and mixing them with the substrate.
On the other hand, there are also composters, which allow us to make use of the organic waste we accumulate daily in the form of organic fertilizer, which is an excellent natural alternative to feed our urban garden and become self-sufficient.
How to make our own urban garden?
To make our own urban garden, we are going to use plastic crates for transporting fruit; if they can all be the same size, even better. We will also need a pack of zip ties, a piece of mosquito netting, a piece of plastic, the substrate, and the cuttings or plants we want to grow.
List of materials:
- 8 plastic fruit crates
- 1 pack of zip ties
- 1 piece of mosquito netting
- 1 piece of plastic
- 4 bags of substrate or 200 liters of our own mix
- Different types of cuttings and aromatic plants (we will choose these once we have the pots assembled)
Once we are clear on the necessary materials, let’s move on to the creation of this type of growing table.
Urban garden assembly:
- Step 1: Face the crates and visualize how you are going to place them. In this case, we are going to join 4 of them to create a good growing surface.
- Step 2: Now we have to secure the structure with the help of the zip ties; first, we will make the upper part with 4 crates and the lower part or base with the other 4 remaining crates. (The base is designed to raise the height of the garden a bit so we can work more comfortably).
- Step 3: Place the mosquito netting in one of the crates, pressing it towards the bottom, and cut it, leaving several centimeters of excess at the top. Repeat this operation with the 3 remaining crates.
- Step 4: Do the same with the plastic; face it and trim it, leaving a few centimeters of excess.
Note: The mosquito netting is used to help ensure the substrate is not lost through the side holes and to allow for proper ventilation. The plastic is used to help keep the water retained in the substrate for longer so it is not lost through the sides and bottom.
- Step 5: Place the base made with the 4 plastic crates and put the large pot we just created on top.
- Step 6: Fill each of the 4 plastic crates carefully and break up the large pieces of compacted substrate with your own hands.
- Step 7: Press the substrate down slightly and water it superficially.
- Step 8: Now is the time to buy the plants we already had in mind; for this, we have to go to our nearest garden center and buy the plants as cuttings. Remember that each plant has specific space needs for its roots, so you have to adjust your purchase according to the space you have created.
- Step 9: Distribute and transplant the cuttings, trying to make them look harmonious and decorative; water little by little, and our urban garden is ready.
From here on, you will have to perform maintenance tasks and apply solid organic nutrients every so often.



 Add as preferred source in Google