Personalized Attention +44 151 947 0713
 SHIPPING TO ALL

 9/10 Rating
 SALE TO MINORS PROHIBITED
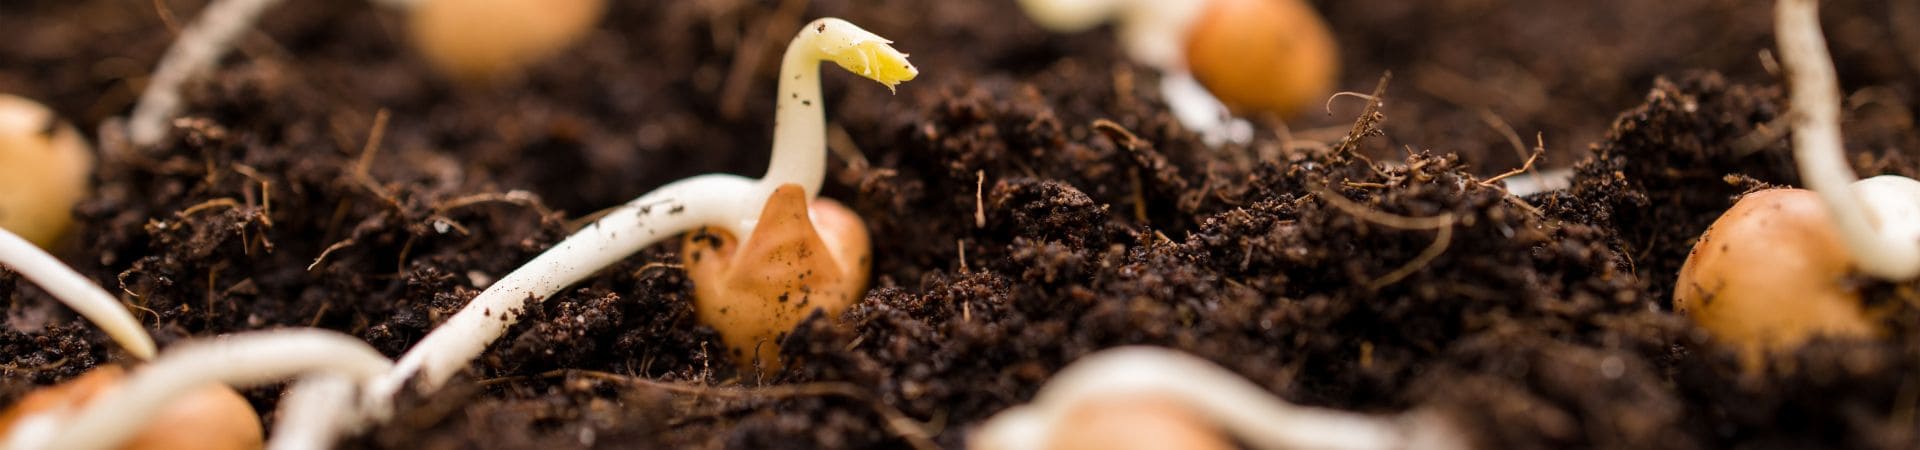
Once you’ve successfully germinated your cannabis seeds, you’re entering a crucial phase in your plant’s development. The germination process marks the beginning of the plant’s life cycle, but it’s the subsequent stages that truly define its potential. Proper care during the early days can prevent issues like damping-off (seedling death), transplant shock, or stunted growth. If you’re wondering what to do after germinating marijuana seeds, this guide will walk you through preparing the environment, transplanting seedlings, and providing the necessary care to ensure healthy development.
When to transplant a germinated seedling?
Timing your transplant is critical for the future health of your plant. Transplanting too early can stress the fragile root system, while waiting too long may damage the roots during handling. Identifying the optimal time is essential.
How to determine the right time
- Root length: The primary root (radicle) should be visible and approximately 1–2 cm long.
- Root health: The root should be white and firm. If it’s dark or mushy, the seed may be compromised.
What to do if germination is too fast or slow?
Typically, cannabis seeds germinate within 24 hours to 5 days under optimal conditions. However, sometimes the process may accelerate or slow down. Here’s how to handle both scenarios:
Accelerated germination
- Observation: If the seed develops a root longer than 3 cm within 48 hours, it may be due to extreme heat or humidity.
- Action: Transplant immediately to prevent the root from tangling or drying out. Handle with care to avoid breaking the root.
Delayed germination
- Observation: If there’s no root after 5 days, check environmental conditions. Low temperatures (<20°C) or excessive dryness can delay germination.
- Action: Place seeds in a warmer location (22–26°C) with consistent humidity. Alternatively, soak seeds in a 1 ml/L hydrogen peroxide (3%) solution for 12 hours to soften the seed coat. If germination doesn’t occur, the seed may be unviable.
What to do after germinating marijuana seeds: preparing the substrate
The substrate serves as the initial home for your cannabis seedlings, influencing their early development. Choosing the right medium is vital to avoid nutrient imbalances or root suffocation.
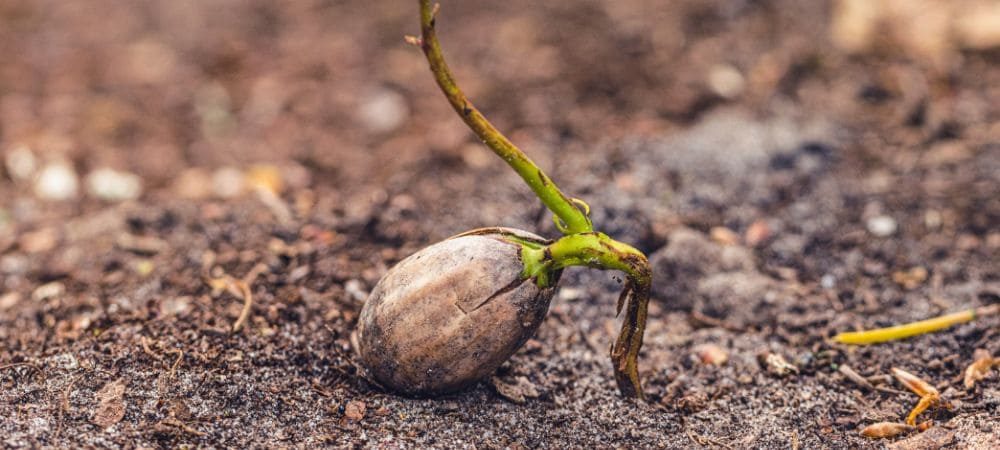
Seedlings require a light, airy, and low-nutrient substrate because their young roots are fragile and sensitive. A medium that is too dense or too rich in fertilizers can suffocate or burn them, since at this stage they feed mainly on the seed’s own reserves (cotyledons). Therefore, we need a medium that meets three fundamental requirements:
- Lightness and aeration. Young roots require oxygen to develop. A substrate that is too compact (like garden soil) limits this gas exchange, slowing growth.
- Low nutrient content. Seeds contain enough reserves (in the cotyledons) for the first 7–10 days. A highly fertilized substrate can burn the tender roots. In addition, fresh organic fertilizers (like manure) or chemical fertilizers should be avoided at this stage.
- Balanced pH (6.0–6.5). A pH out of range blocks nutrient absorption, even if the substrate is otherwise suitable.
Alternatives to traditional substrate
For cannabis cultivation, especially during the early stages of development, there are several alternatives to conventional substrate that offer specific advantages depending on the grower’s needs. These options are ideal for those who seek greater control, efficiency, or innovative methods in the germination and early growth process.
| Alternative | Characteristics |
|---|---|
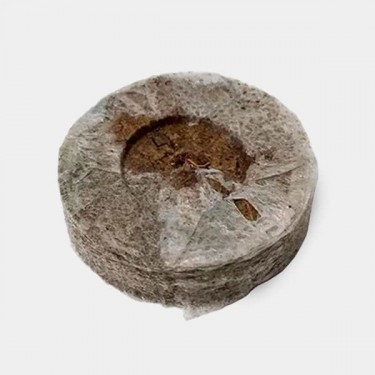
| Jiffy | These compact discs, made mainly of peat and coco fiber, expand when hydrated and create an ideal medium for root development. They are easy to use, biodegradable, and retain the right amount of moisture. |
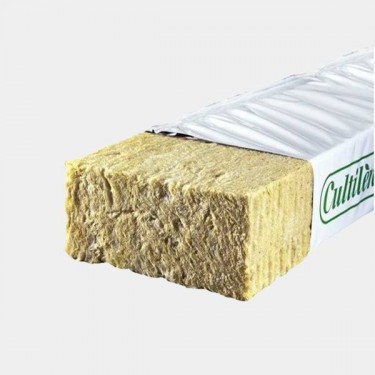
| Rockwool | Rockwool is an inert medium made from molten volcanic rock. It is widely used in hydroponic systems and by growers who seek precise control over plant nutrition. |
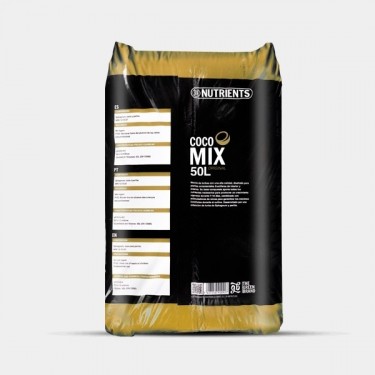
| Coco fiber | It is an excellent alternative for those seeking a light and eco-friendly medium. It has a high water retention and aeration capacity, mixes well with other media, and prevents compaction. |
You can purchase each of these alternatives in our store:


How to plant a germinated seed step by step
Properly planting a germinated seed is a critical moment in cannabis cultivation. Improper handling can damage the delicate radicle or cause stress that will affect the plant’s later development. If you don’t know what to do after germinating marijuana seeds, follow these steps to transplant them without damage.
- Handling: Before touching the seed, disinfect your tools well or wash your hands and use clean gloves. Hold the seed by the body, avoiding contact with the root. If it’s stuck to the paper, moisten it to gently detach it. Do this in a warm environment with soft light.
- Placement: Make a hole 0.5 to 1 cm deep in the substrate, depending on its density. Place the seed with the root facing downward and horizontally, and cover it lightly without compacting to make it easier for the seedling to emerge.
- Watering and environment: Moisten the substrate with a spray bottle using room-temperature water with a pH of 6.0–6.5, without soaking it. Ventilate for 10 minutes a day to prevent mold.
- Light: Use soft light, keeping LEDs 50–70 cm away or fluorescents 15–20 cm away. Avoid direct sunlight.
- Observation: During the first few days, check that the stem is firm and the cotyledons are green. If the seedling stretches too much seeking light, move the light slightly closer.
Initial care after transplanting
The period immediately following transplantation is crucial for the seedling to settle well and begin growing healthily. During these first days, the plant is especially vulnerable and requires controlled environmental conditions to develop a strong root system and vigorous growth. Knowing what to do after germinating marijuana seeds at this stage includes monitoring key factors such as light, temperature, and humidity.
| Requirements | Tools | Warning signs | |
|---|---|---|---|
| Temperature | Day: 22–25°C Night: 18–20°C Root zone: 20–22°C | Heating mat (cold climates) Ambient thermometer | Slow growth (low temperature) Curled leaves (thermal stress) |
| Humidity | Week 1: 70–80% RH Week 2: 60–65% RH | Propagation dome (ventilate 10 min/day) Hygrometer Spray bottle (pH 6.0) | Mold on leaves/substrate (excess humidity) Weak stem (excess moisture and lack of oxygenation) |
| Watering | First watering: 20–30 ml/0.5L Frequency: Every 2–3 days (soil dry to the touch) | Sprayer/fine watering can Lukewarm water (20–22°C, pH 6.0–6.5) | Wilted stem (excess water and suffocated roots) Yellow leaves (pH imbalance or lack of oxygen in roots) |
| Oxygenation | Substrate with 30% perlite/vermiculite Good drainage (wide holes) | Pots with drainage Avoid trays with standing water | Brown roots (suffocation due to lack of oxygen or overwatering) Substrate compaction (retains too much moisture and reduces oxygenation) |
| Ventilation | Gentle airflow to strengthen stems Avoid strong direct wind | Oscillating fan (low speed) Windows or extractor for air renewal | Fungus (lack of air circulation and excess humidity) Weak or elongated stems (lack of ventilation and insufficient light) |
When does the vegetative growth phase begin?
The vegetative phase is when the cannabis plant begins to develop its main structure: stems, branches, and leaves, leaving behind the fragile seedling stage. Recognizing this change is vital to adjust care and boost its growth.
The transition is not immediate but gradual, and you can identify it by the following signs:
- True leaves: They appear after the cotyledons and have serrated leaflets (3 to 5 per leaf). When there are 2–3 pairs, the plant already depends less on the seed’s stored reserves.
- Vertical growth: The stem grows quickly, up to 1–2 cm per day, and the first nodes for lateral branches begin to form.
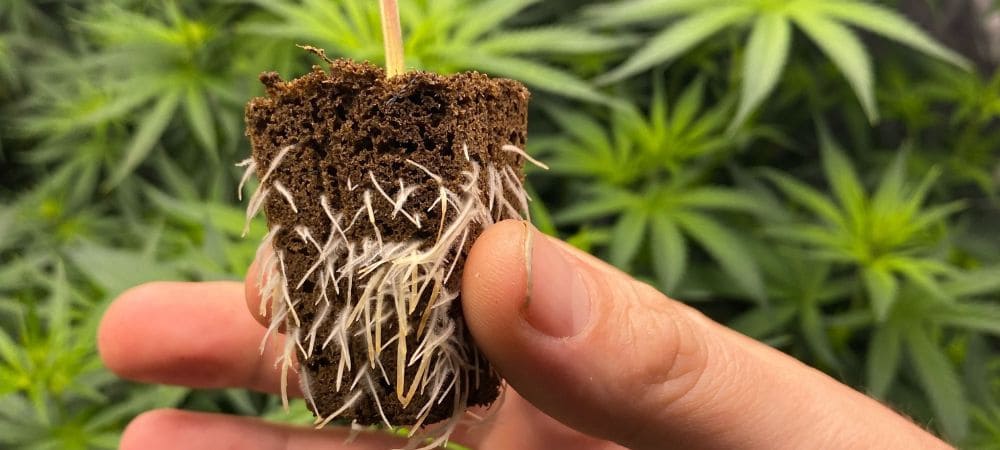
- Extended roots: In transparent pots or during transplant, you can observe white, fibrous roots occupying at least 60% of the substrate.
This transition usually occurs between 7 and 14 days after germination, depending on the genetics (indicas are usually faster than sativas).
Common mistakes after germination (and how to fix them)
After germination, seedlings are very delicate, and even a small mistake can affect their development. Knowing what to do after germinating marijuana seeds and avoiding the most common errors is crucial. Here are the most frequent mistakes and how to avoid them:
Overwatering: The silent killer
The most common and devastating mistake is drowning seedlings with too much water. Young roots need both moisture and oxygen, and a waterlogged substrate causes root asphyxiation and promotes fungi such as Pythium.
Solution: Water only when the substrate feels slightly dry to the touch (1–2 cm deep). Use a spray bottle during the first days and pots with good drainage. The substrate should feel moist, not soaked.
Traumatic transplant
Handling roots roughly when moving seedlings to their final pots can cause irreversible damage. It is also risky to transplant too early or too late.
Solution: Wait until the seedling has 2–3 pairs of true leaves. Use biodegradable pots to avoid direct root handling. Water the substrate before transplanting to reduce stress.
Extreme environmental conditions
Seedlings are very sensitive to low temperatures (<18°C / 64°F), direct air drafts, or very low humidity (<50%), which can slow growth or kill them.
Solution: Maintain 72–77°F (22–25°C) during the day and about 70% relative humidity in the first few days. Use propagation domes or mini greenhouses to stabilize the microclimate, ventilating them daily.
Premature fertilization
Applying nutrients too early (before 10–14 days) burns the roots, since seedlings are still feeding on their cotyledons.
Solution: Do not fertilize until 2–3 pairs of true leaves appear. During the seedling phase, plants need very light nutrition. Start with a mild nutrient solution rich in nitrogen to support strong, healthy root development, then gradually increase concentration.
Lack of pathogen prevention
“Damping-off” (sudden seedling death caused by fungi) is common when basic preventive measures aren’t taken.
Solution: Sterilize the substrate (bake at 212°F / 100°C for 30 minutes) and use water with 10% hydrogen peroxide for the first waterings. Avoid excessive humidity and ensure gentle ventilation.
Recommended products after germination
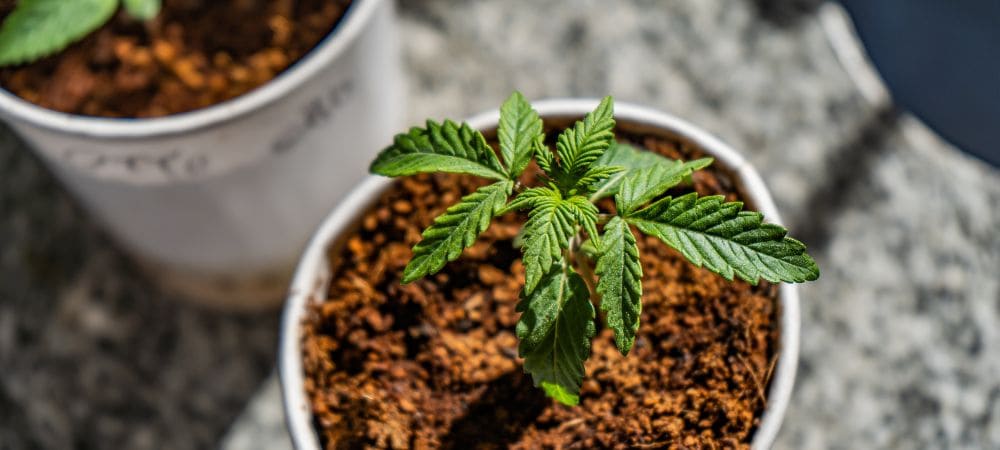
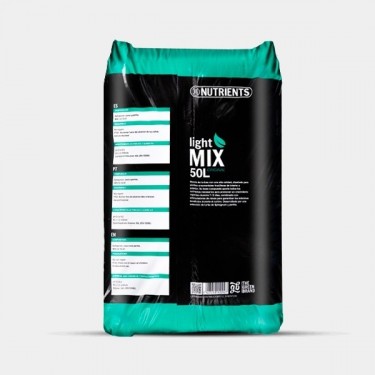
After germination, it’s best to use products that support early growth without stressing the seedling. For example, light and airy substrates that allow roots to breathe without excess nutrients, pots for cultivation that enable smooth transplants and prevent damage, humidity control systems like mini greenhouses or domes, and gentle fertilizers or root stimulators that strengthen the root system without overloading the plant.


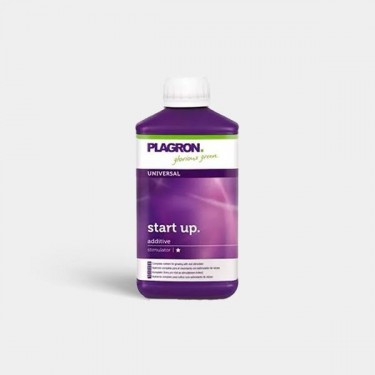
Knowing what to do after germinating marijuana seeds is essential for a successful grow. Every bit of care you provide during this initial stage helps your plants grow healthy and strong, laying the foundation for a high-quality harvest.
Seedlings require a light, aerated, and low-nutrient substrate because their young roots are fragile and sensitive. A medium that is too dense or loaded with fertilizers can suffocate or burn them, since at this stage they feed mainly on the seed’s reserves (cotyledons). Therefore, we need a medium that meets three essential requirements:
- Lightness and aeration. Young roots need oxygen to develop. A substrate that is too compact (like garden soil) limits this gas exchange, slowing growth.
- Low nutrient content. Seeds contain sufficient reserves (in the cotyledons) for the first 7–10 days. A heavily fertilized substrate can burn tender roots. Avoid using fresh organic fertilizers (like manure) or chemical ones at this stage.
- Balanced pH (6.0–6.5). A pH outside this range blocks nutrient absorption, even if the substrate itself is suitable.
Alternatives to traditional substrate
For cannabis cultivation, especially in the early stages of development, there are several alternatives to conventional substrate that offer specific advantages depending on the grower’s needs. These options are ideal for those seeking greater control, efficiency, or innovative methods during germination and early growth.
| Alternative | Characteristics |
|---|---|
| Jiffy | These compact discs, made mainly from peat and coconut fiber, expand when hydrated and create an ideal medium for root development. They are easy to use, biodegradable, and retain the perfect amount of moisture. |
| Rock Wool | Rock wool is an inert medium made from melted volcanic rock. It’s widely used in hydroponic systems and by growers who seek precise control over plant nutrition. |
| Coconut Fiber | It’s an excellent option for those seeking a light and eco-friendly medium. It has high water retention and aeration capacity, mixes well with other mediums, and prevents compaction. |
You can purchase each of these alternatives in our store:
How to plant a germinated seed step by step
Properly planting a germinated seed is a critical moment in cannabis cultivation. Mishandling can damage the delicate radicle or cause stress that affects the plant’s later development. If you don’t know what to do after germinating marijuana seeds, follow these steps to transplant them without causing harm.
- Handling: Before touching the seed, thoroughly disinfect your tools or wash your hands and use clean gloves. Hold the seed by the body, avoiding contact with the root. If it’s stuck to the paper, moisten it to detach gently. Do this in a warm environment with soft lighting.
- Placement: Make a hole 0.2–0.4 inches (0.5–1 cm) deep in the substrate, depending on density. Place the seed with the root pointing downward and horizontally, and cover it lightly without compacting to make it easier for the seedling to emerge.
- Watering and environment: Moisten the substrate with a spray bottle using room temperature water (pH 6.0–6.5), without soaking it. Ventilate for 10 minutes a day to prevent mold.
- Light: Use soft light, keeping LEDs 20–28 inches (50–70 cm) or fluorescents 6–8 inches (15–20 cm) away. Avoid direct sunlight.
- Observation: During the first days, check that the stem is firm and the cotyledons are green. If the seedling stretches excessively looking for light, move it slightly closer.
First care after transplanting
The period immediately after transplanting is crucial for the seedling to settle properly and begin healthy growth. During these first days, the plant is especially vulnerable and requires controlled environmental conditions to develop a strong root system and vigorous growth. What to do after germinating marijuana seeds at this stage includes monitoring key factors like light, temperature, and humidity.
Temperature
During the first few days after transplanting, it’s crucial to maintain a stable temperature between 72–77°F (22–25°C). Avoid sudden changes, drafts, or cold air from windows or fans. Temperatures below 68°F (20°C) slow root growth, while those above 82°F (28°C) increase the risk of dehydration and fungal diseases.
Humidity
Young seedlings need high relative humidity to prevent water loss through their small leaves, as their roots are not yet capable of full water absorption. Keep the humidity at around 70–80% for the first 5–7 days, then gradually lower it to 60–65%. Use a mini greenhouse or propagator to help maintain this microclimate.
Watering
Proper watering is essential. Both excess and lack of water can damage a young plant’s root system. The substrate should remain moist but never waterlogged. Use a spray bottle or a small syringe to moisten the upper layer only when it starts to dry. Water with neutral or slightly acidic water (pH 6.0–6.5) and at room temperature.
Lighting
During this stage, the light should be soft but sufficient for photosynthesis. Fluorescent lights (CFL or T5) or LED grow lights at low intensity are ideal. Keep the light source at the correct distance to avoid stretching or burns. Use a 18/6 light cycle (18 hours of light and 6 hours of darkness).
Air circulation
Good air circulation strengthens stems and prevents mold formation. Use a small fan directed indirectly toward the seedlings to simulate a gentle breeze. Avoid direct airflow that could dehydrate or damage them.
Vegetative stage
Once the seedling has developed its first true leaves (beyond the cotyledons), the vegetative phase begins. This period is key to forming a strong plant structure capable of supporting abundant flowering later. It’s time to optimize environmental factors and nutrition for steady growth.
Lighting during the vegetative stage
Maintain a light cycle of 18 hours of light and 6 hours of darkness. Use LED panels or MH (metal halide) lamps that provide a light spectrum rich in blue wavelengths, ideal for stimulating vegetative growth. Keep the lamp about 16–20 inches (40–50 cm) from the plant, adjusting according to intensity and temperature.
Temperature and humidity
During this phase, keep the temperature between 71–79°F (22–26°C) and humidity around 60%. Excess heat or dryness can cause leaf curling and nutrient uptake problems. At night, the temperature can drop slightly but not below 65°F (18°C).
Watering and nutrients
As the plant grows, its water and nutrient needs increase. Water only when the top layer of substrate (about 1 inch / 2.5 cm) is dry. Start with small amounts of base fertilizer rich in nitrogen (N), which promotes vegetative growth. Gradually increase the dosage as the plant matures. Avoid overfertilization — less is more in this stage.
Air exchange and CO₂
Proper air exchange provides fresh CO₂, essential for photosynthesis. Make sure the grow area is ventilated but without strong air currents. Indoor growers can use extraction and intake fans on a timer to keep conditions optimal.
Common mistakes after germination
- Overwatering: The most common mistake. Constantly wet substrate limits oxygen and causes root rot.
- Excessive nutrients: Avoid fertilizers during the first days. Wait until the plant develops 3–4 pairs of true leaves.
- Light stress: Light that’s too close burns, too far causes stretching. Adjust distance gradually.
- Touching roots: Never handle or expose the root system when transplanting or inspecting the plant.
- Sudden environmental changes: Rapid variations in humidity or temperature cause stress and slow growth.
Recommended Products After Germination
After germination, it’s best to use products that support early growth without stressing the seedling. For example, light and airy substrates that allow the roots to breathe without excess nutrients, pots and trays for growing that make transplanting easier and prevent root damage, systems to maintain proper humidity such as mini greenhouses or propagation domes, and gentle fertilizers or rooting stimulators that strengthen the root system without overloading the plant.
Knowing what to do after germinating marijuana seeds is essential for a successful grow. Every bit of care you provide during this initial stage helps your plants grow healthy and strong, laying the foundation for a high-quality harvest.
Products in this article




 Add as preferred source in Google