Personalized Attention +44 151 947 0713
 SHIPPING TO ALL

 9/10 Rating
 SALE TO MINORS PROHIBITED

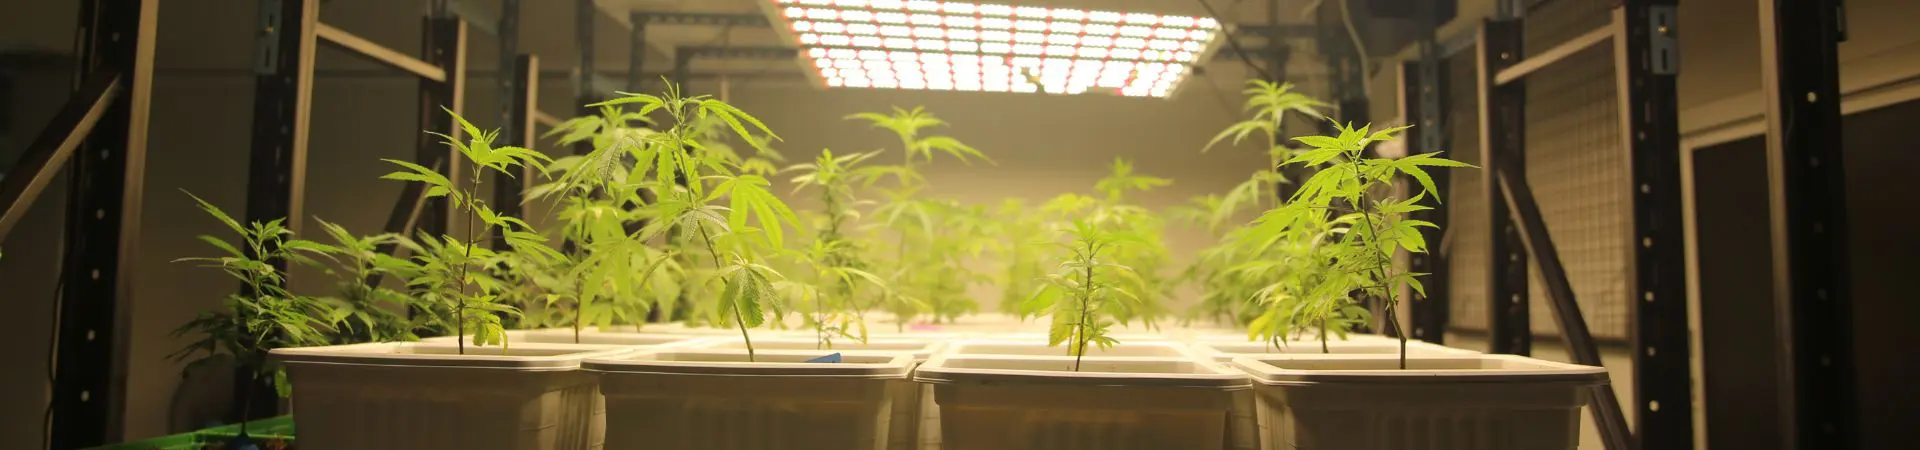
The cultivation of autoflowering strains indoors has become a highly appreciated technique among growers seeking quick, high-quality, and productive harvests. This method allows growers to control the environment to simulate optimal conditions, such as a consistent climate similar to June, benefiting plant growth. In this post, we will guide you through the essential aspects of successfully growing autoflowering plants indoors.
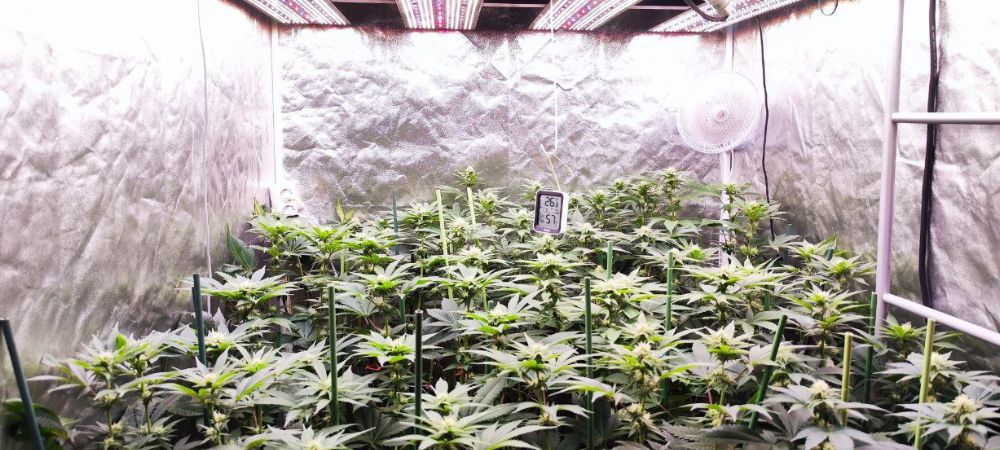
Indoor autoflowering plant monitoring
Seed selection and initial preparations
Before starting, it is crucial to determine the number of indoor autoflowering marijuana seeds planned for cultivation. The following factors should be considered:
- For 3-month cycles, a maximum of 4 plants per square meter is recommended.
- For 2-month cycles, the number increases to 9 plants per square meter. It is important not to exceed this to avoid issues with height and light distribution.
In this case, we have chosen a feminized seed from each of our bulk autoflowering seeds, including Somango, Critical+, Lavender, White Widow, Skunk, Northern Lights, AK 47, Diesel, Jack, Haze, and Amnesia, all cultivated within 65 days from germination.

White Widow

Northern Lights
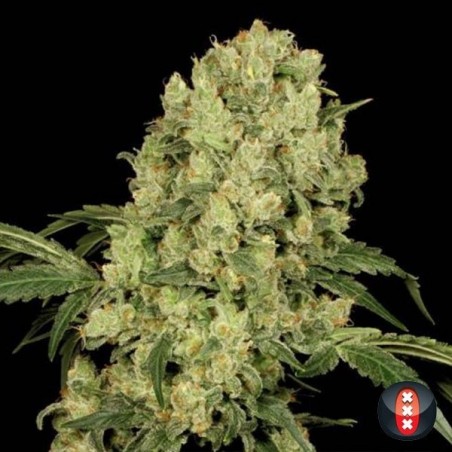
AK 47 - Serious Seeds
Materials used
- Bulk autoflowering seeds
- 600 W Lighting Kit

GB Lighting 600W V3.0 Dimmable LED System
- 12 Pots of 7L
- Canna Terra Professional Substrate
- Top Crop Microvita
- Micro, Grow, Bloom, Bud Ignitor, Big Bud, Bud Candy, and Overdrive Advanced Nutrients
- Grotek Monster Bloom

Monster Bloom

Micro Vita

600 W HPS Electronic Kit
Germination and transplanting
The process begins with the germination of marijuana seeds using the paper towel method. Once germinated, they are transferred to small pots, and after 4-5 days, they are transplanted to 7L pots. It is important to mix Micro Vita into the substrate and adjust the amount of water during transplanting to avoid waterlogging and promote healthy root development.
Growth and Flowering Phases
After the first 12-13 days, when growth seems slow, the plants will start to develop rapidly if watering is properly controlled. It is crucial not to overwater and to begin using specific nutrients for each growth phase, from flowering stimulation to bud fattening.
To obtain dense, high-quality buds, it is recommended to alternate watering with nutrients and sugars, and finally, perform a root flush with only water to cleanse the plant of nutrients and enhance the flavor of the harvest.
Step-by-Step indoor autoflowering plant monitoring
Starting from day 12-13, the plant will begin to develop vigorously if overwatering has been avoided. The following weeks progressed as follows:
Weeks 4-5: Growth increase and flowering stimulation
You will notice a significant growth increase. Adjust watering according to the plants’ needs. Between days 20-21 (for 2-month cycles) or 26-27 (for 3-month cycles), start using a flowering stimulator like Bud Ignitor, in conjunction with the growth fertilizer.
Weeks 6-7: Bud formation
Around day 27-28, buds will begin to form at all the plant tips. Switch the flowering stimulator for a sugar supplement for the entire flowering period. Continue with the flowering fertilizer and sugars, alternating watering between nutrients and water.
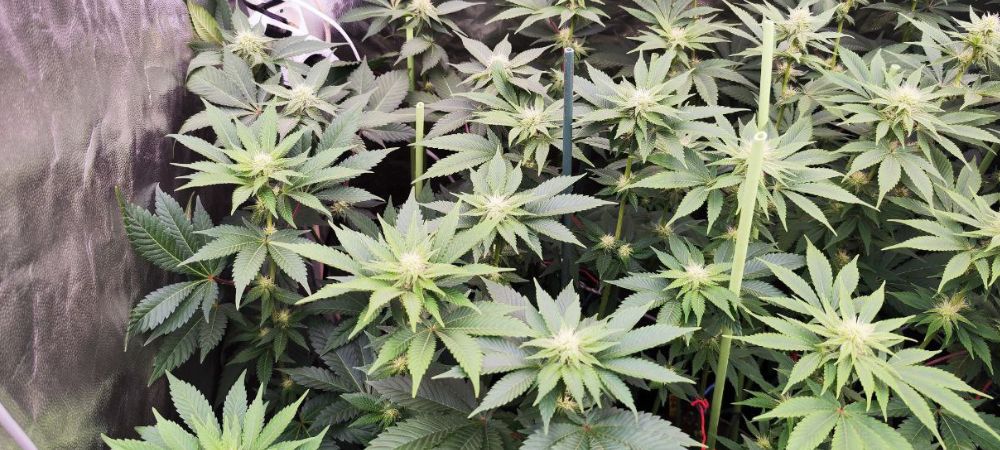
Weeks 8-9: Bud fattening
Around day 36-37, when the buds are formed, switch to a fattening fertilizer like Overdrive. Continue with a watering schedule of one time with nutrients and the next time with water, and add Monster Bloom once a week to maximize flowering.
Weeks 10-11: Root cleaning and harvest preparation
Start watering only with water around days 50-52 to cleanse the roots of salts and prepare the plants for a better-tasting harvest.
Harvest
Once the flowers appear mature, it is time to cut the plants. By following thesedetailed steps, you ensure a successful indoor autoflowering cultivation with larger, more productive plants.
This monitoring will help optimize each stage of indoor autoflowering cultivation, ensuring a high-quality and abundant harvest.
Final tips
By following these steps and maintaining proper control of the growing environment, indoor autoflowering plants can offer high-quality and productive harvests in just 2 months. Remember that choosing autoflowering seeds, especially XXL bulk options, can be a profitable investment for the entire year, offering the possibility of a more productive cultivation at a reduced cost.