Personalized attention +34 96 206 62 98
 Free shipping to Iberian Peninsula from 30€
 9/10 Rating
 Discreet shipping

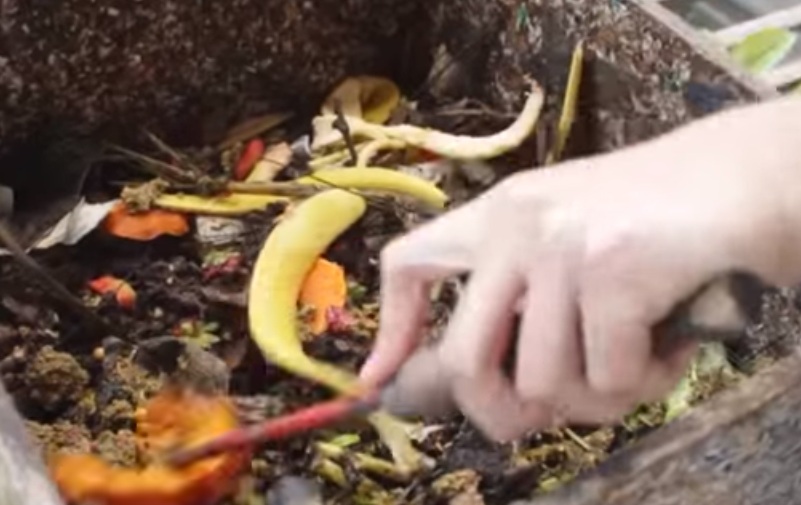
Composting and vermicomposting are techniques used to decompose organic residues, making for some of the best plant food in the world. This process involves a large amount of microorganisms, a couple of invertebrate’s maybe and a legion of fungi that will turn your ingredients into the best vermicompost around – if done in the right conditions.
Vermicompost is a type of compost that is made with worms; a specific kind of worm called Eisenia Foetida, a laboratory hybrid that is capable of devouring a large quantity of organic residues and turning them into compost. This kind of compost is essentially worm poop, which makes for a spectacular organic fertilizer that absolutely every outdoor and indoor grow should have.
In this article I’m going to teach you how to easily make your own vermicompost, spending a total of 0€ in the process. First, you’re going to need to pick the option that most adapts to your needs and possibilities. Normal composting is the right choice if you have enough space and time, but in smaller spaces making vermicompost is the smarter choice.
Compost
If you decide to make compost, then you can easily do so by using wooden pallets; you can use other materials also, such as cement and metal. Any old box is good enough for a little experiment.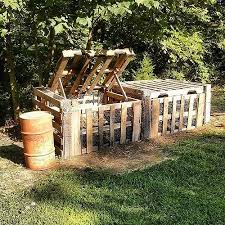
You’ll need to place it somewhere where the temperature is as stable as possible; somewhere out of the sunlight in summer and out of the rain in the winter. If at all possible, place it near the soil, directly on top of it to make it easier for the little insects that are going to turn it into compost to get to it. You need to mark out a square meter area with four pallets standing up like walls.
 Once the cubicle or cubicles (as you can make more than one if you want) is set up, you can make an easy access lid using another pallet for the top. Now, you’ll need to begin filling them with organic material. You can use trimmings and grass from the garden, leftover vegetable skins from cooking, egg shells and even untreated paper and cardboard. Keep in mind to NEVER use inorganic material, like treated paper or paper with ink, trimmings with pesticides or feces from carnivorous animals.
First, you need to place a 15cm layer of branches that aren’t too thick, allowing air to enter from underneath and oxygenize the mixture. Next, fill with dry and green (humid) vegetal material which will give perfect humidity conditions, texture and nutrients (such as nitrogen and carbon), mixing two parts green and one part dry, mixing well.
Now, all you have to do is keep the right oxygen and humidity parameters up long enough for the mixture to become compost.
If the mixture starts smelling awful, it might be just a bit too humid. If this is the case then you’ll need to pot the mixture into the pen beside that one to air it out. If the mixture dries out too much all you have to do is water it a little bit to keep the process from stopping. If everything goes well, the mixture should begin transforming and going through various phases.
The first phase takes a few days; the mixture of organic material starts being colonized by aerobic bacteria that start decomposition due to the mixture of nutrients, humidity and oxygen. Due to the activity, the mixture begins heating up and it can reach peak temperatures of up to 80ºC.
At this temperature, the soil becomes sterile of any larvae or unwanted seeds. This second stage is when the amount of mixture begins to go down, and you can add more mixture in the correct green-dry proportion. Over time, the temperature lowers and the mixture will be totally decomposed in the perfect compost thanks to the work done by worms, woodlouse and other invertebrate insects.
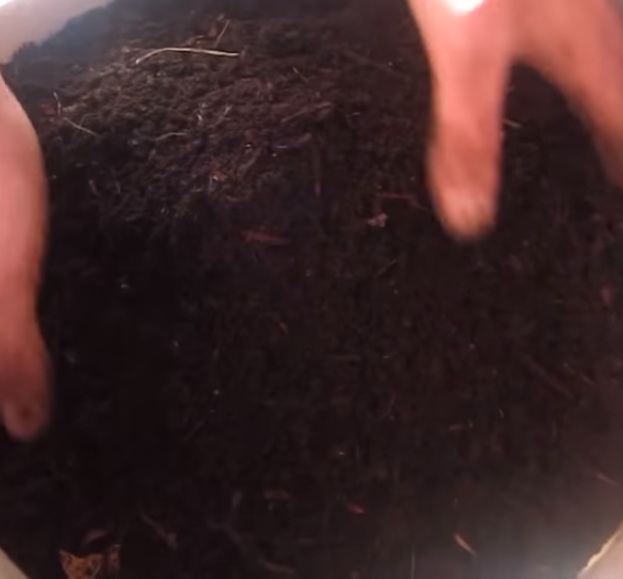
The organic material will be completely decomposed once it has a dark brown, almost black color with a kind of wet forest smell. The entire process takes between 5 and 6 months, the 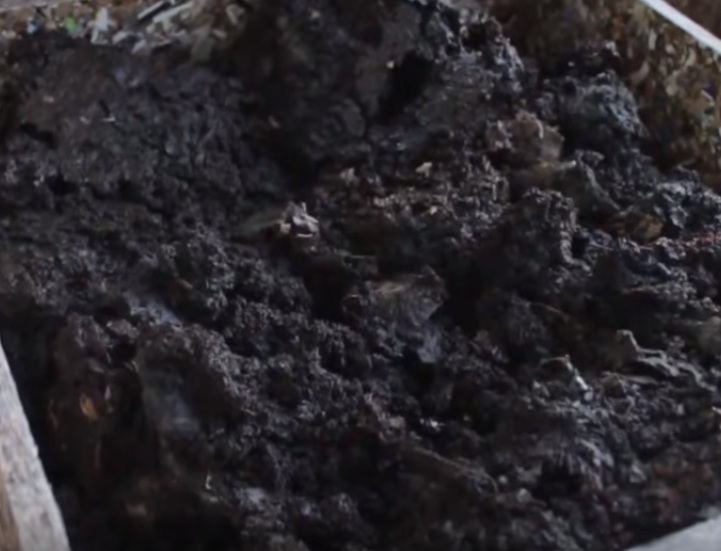 transformation is slow and it’s necessary to keep an eye on the humidity to avoid the mixture compacting, rotting or drying out.
Compost has some amazing qualities, here are just a few:
- It gives the soil organic material.
- It helps roots grow healthy and strong.
- It makes it easier for water to drain through the soil.
- It gives sandy grounds density, allowing for better humidity retention.
- It attracts and feeds soil worms.
- It improves the soil’s pH (acidity).
- It reduces plants’ and trees’ thirst for water.
- It helps control soil erosion.
- It reduces stress in plants during droughts or cold temperatures.
- It improves the content of minerals and vitamins in food grown in soils rich in compost.
- If used generously in the ground it can totally replace petro-chemical fertilizers.
Vermicompost
If you don’t have much space or you just want to try your hand at vermicompost, then keep in mind that vermicompost or worm hummus is known as one of the best fertilizers in the world. This decomposition process is done in the stomach of Eisenia Foetida, a Californian hybrid worm made in a lab that transforms 70% of the ingested organic material into compost, or worm hummus.
These worms can deal with temperatures as low as 3º and as high as 351, although their preferred temperature is around 20º. They reproduce astonishingly fast, laying one egg a week with 20 larvae inside that begin decomposing material from the moment they’re born until they die – which is at the ripe old age of 16!
Making the perfect vermicompost is relatively easier than making compost, and you can use much smaller containers.
 On GB The Green Brand you can find specific containers made for making vermicompost which have the perfect measurements to place it anywhere you want; balcony or bedroom, no need to worry as the process happens entirely on the inside. The worm composting system is a system of trays on top of one another. The tray at the bottom collects a substance called black gold which can also be used as a fertilizer, and can be extracted using a tap that’s attached to the container. The rest of the trays have a series of small holes, allowing your guests to move from one tray to another.
In the second last tray you’ll need to place a litter with the worms and add leftovers from cooking such as vegetable skins that are uncooked. We don’t recommend adding meat, fish or oil as this could end up rotting the mixture. This is when the worms start doing their job. Once the first tray is full, you can place the next tray and fill it with organic material. Once the worms run out of food they’ll move up to the next tray in search of more food, leaving the tray below it completely free of critters and covered in the most perfect worm compost.
Apart from the actual compost, you can get one to two liters of black gold a month, so you’ll have quite a lot of free fertilizer for all of your plants.
Some of the benefits of vermicompost or worm hummus:
 Increases the formation of mycorrhizae.
- Increases plants’ resistance to bacteria and fungi.
- Its neutral pH levels make it perfect for delicate plants.
- Thanks to its neutral pH and other qualities, it contributes heavily to the development and diversification of the microflora and microfauna in the earth.
- It favors root absorption (nutrients etc.)
- It makes it easier for plants to absorb nutritional elements; the microbiotic activity in the worm hummus makes minerals such as phosphorus, calcium, potassium, magnesium and others absorbable to the plant.
- It gives and increases the availability of nitrogen, phosphorus, potassium, sulfur, boron, and it releases them slowly, as well as interfering with the soil’s physical fertility.
- It increases breathability of soil.
- Due to its high concentration of humic and fulvic acids, it improves the soil’s chemical characteristics.
- It increases resistance to cold.
As you can see, it’s pretty easy to make your own 100% natural and balanced fertilizer. The biggest disadvantage of compost for us urban stoners is the amount of space we have, as you need at least a square meter to correctly make compost as well as an extra space to air it out if needed. However, vermicomposting doesn’t smell bad thanks to the specific containers, so you can even do it in a flat.
We recommend that any grower worth his or her salt should try this worm hummus method him or herself! You’ll be totally surprised and how efficient it is and how little work it requires. If you have any questions, stories or suggestions don’t hesitate to leave a comment and our team of experts will get back to you as soon as possible!